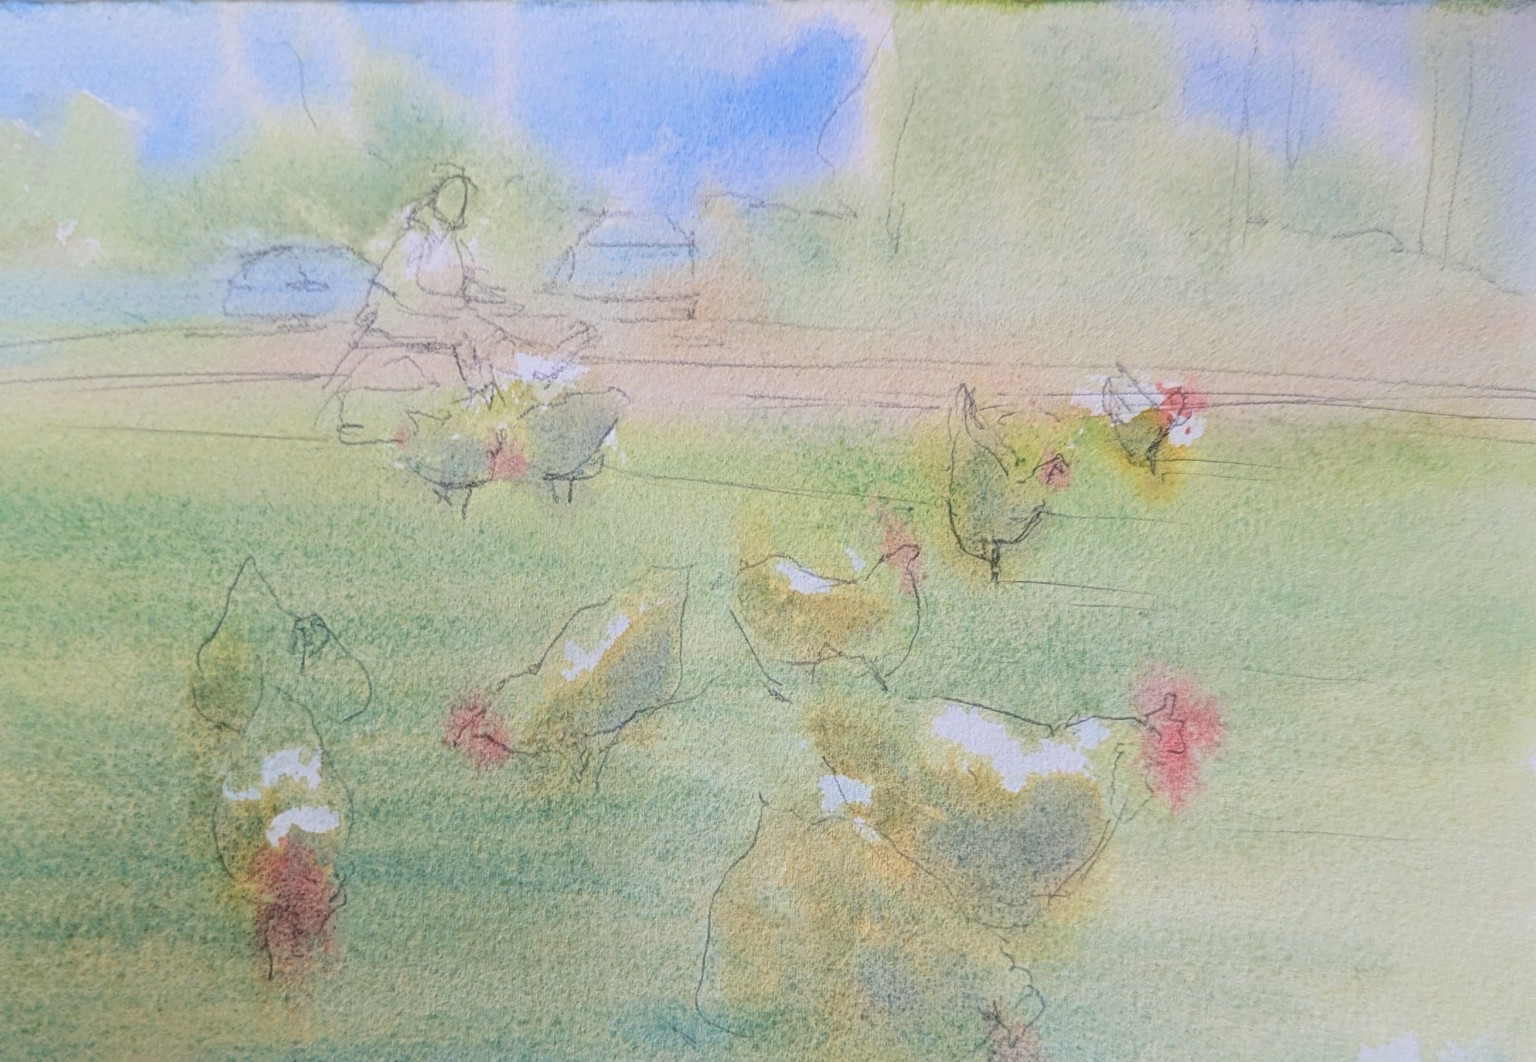
Freshness starts here
I begin with one light, connected wash.
I do not try to finish every object in the first passage. I let colors mingle, keep the drawing visible, and preserve open paper so later marks have somewhere to belong.
Beginner lesson · Brushwork, edges, and restraint
Looseness is not carelessness. For me, it comes from making a simple plan, painting larger connected shapes, leaving some marks alone, and stopping while the watercolor still feels alive.
Freshness starts here
I do not try to finish every object in the first passage. I let colors mingle, keep the drawing visible, and preserve open paper so later marks have somewhere to belong.
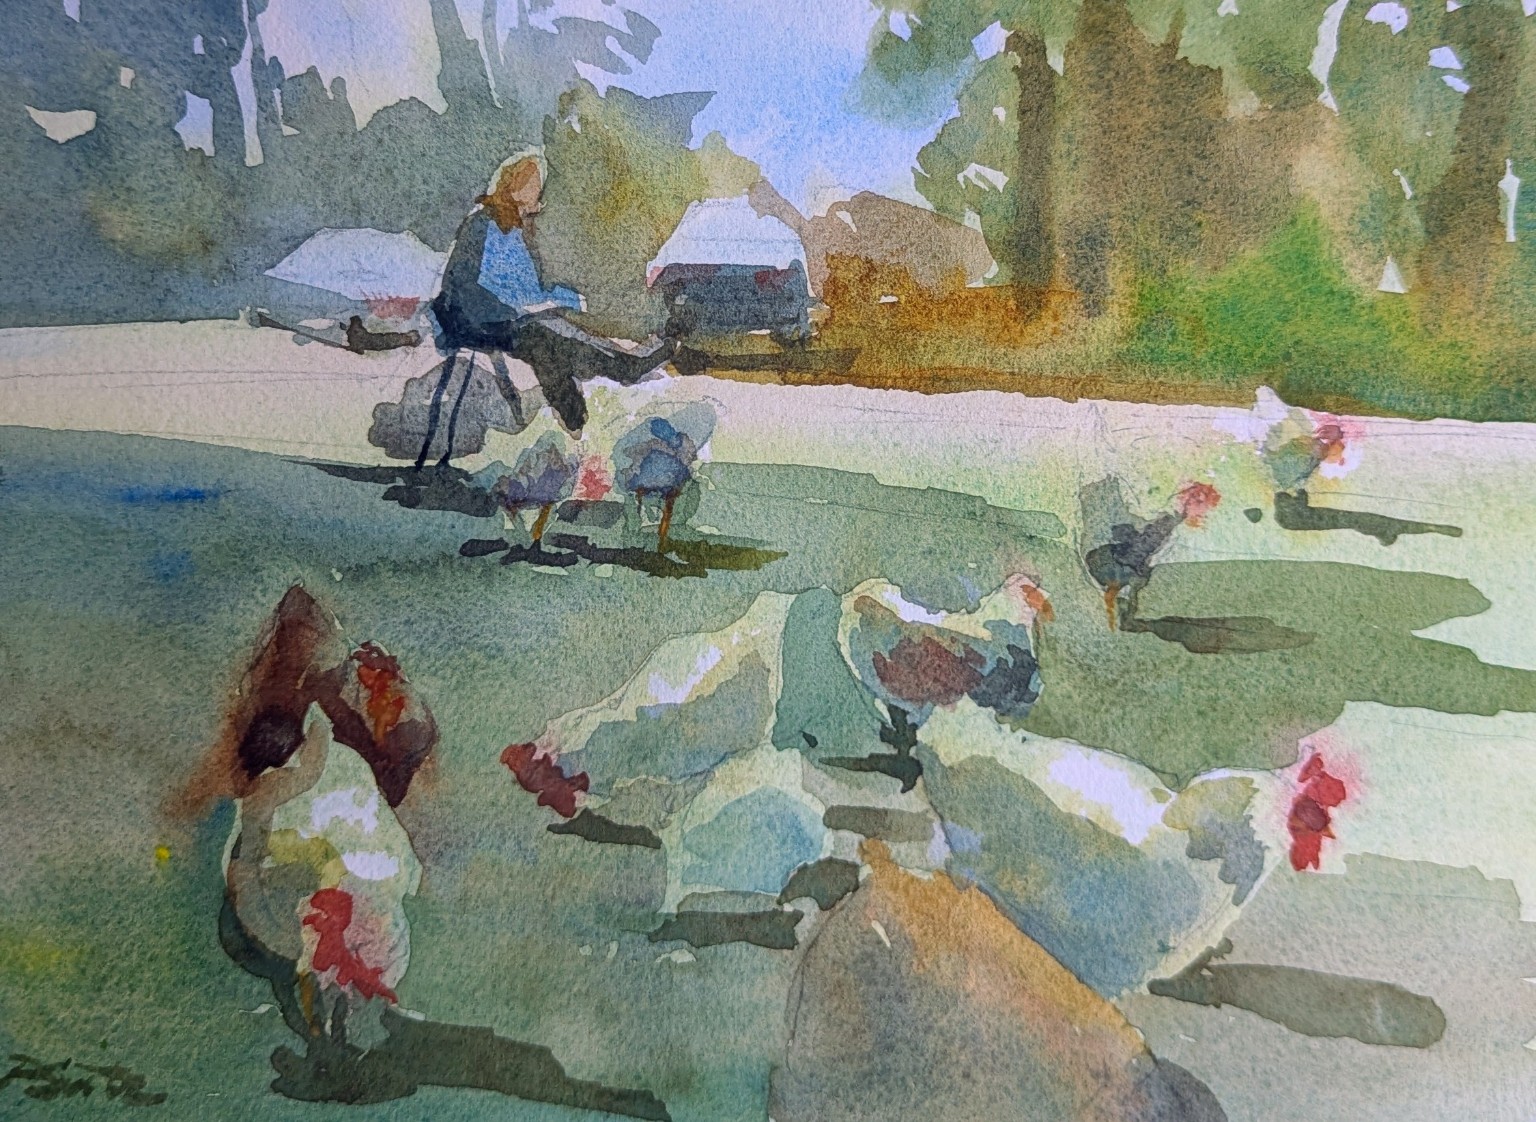
Let suggestion do the work
A few purposeful darks clarify the figure, chickens, trees, and ground. Softer passages remain open and suggestive. The viewer gets enough information to complete the scene.
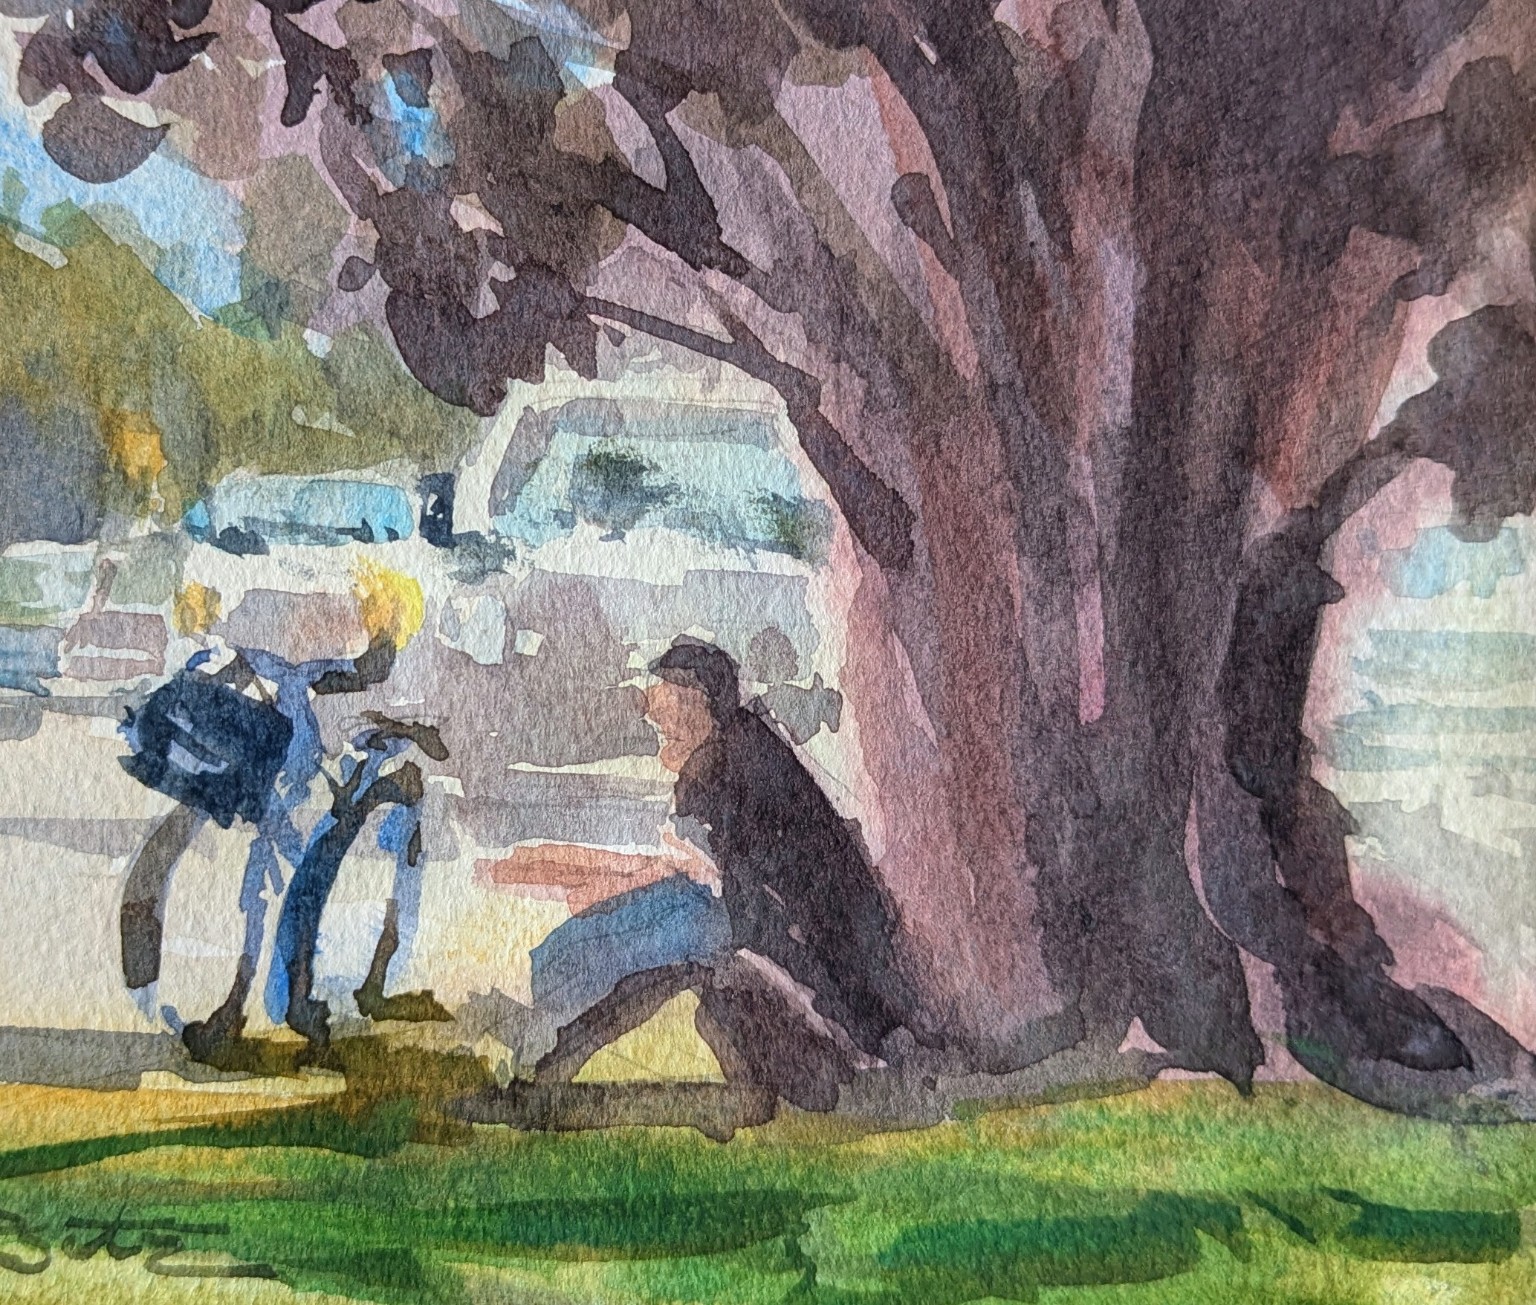
Clarity before detail
The large tree, seated man, and bicycle carry the painting. Cars and buildings are simplified into supporting shapes, so their details do not compete with the moment I wanted to paint.
What looseness really is
My reminder
“Loose does not mean uncontrolled. I decide what matters, say it simply, and leave the rest alone.”
When other artists describe my work as loose, I believe they are responding to the visible brushwork, open edges, and details I chose not to add.
Seven habits I use
Looseness begins with a clear composition and value plan. When I already know what matters, I do not have to search for the painting with dozens of uncertain marks.
I join nearby trees, shadows, figures, and buildings into larger value families. One connected shape usually feels fresher than many separate little pieces.
I begin with a large mop brush for the broad first wash, move to a smaller mop for middle-value shapes, and finish with a synthetic round—usually around a size 8—for the few accents that truly need it.
Watercolor changes as it settles and dries. I try not to chase, scrub, or correct every mark immediately. A lively stroke needs room to remain visible.
Some edges stay crisp, some soften into a damp wash, and some are lost completely. That variety keeps the painting breathing and brings attention to the focal point.
The painting does not need every window, leaf, feather, spoke, or brick. If the light, subject, and value pattern already read from a distance, another mark must earn its place.
I usually limit a painting session to about 30 minutes, then take a break and look again. Large washes are the exception because I need to keep them moving. Stepping away helps me see what the painting truly needs—and often shows me that it needs less than I thought.
Choose the right beginning
The way I prepare the paper depends on what I am painting, how much control I need, and how much time I have.
I do not wet the entire sheet first. Dry paper gives me more control as I organize the subject into clear light, middle, and dark shapes.
This lets the first wash flow, mingle, and connect. If there are important whites I want to reserve, I keep those areas dry so the paint cannot travel into them.
I normally do not cover the entire painting with water. I work in parts so the ink remains useful and I can decide where I want soft movement and where I want more control.
Outdoor light changes, the paper may dry quickly, and my painting time may be limited. I choose the beginning that will help me capture the main idea while it is still there.
The stopping test
I look at the painting from across the room and ask: Does the subject read? Is the light clear? Is the focal point strong? If the answer is yes, I stop. If something is missing, I add only the mark that answers the problem.
“Do not add a mark because the paper has an empty spot. Add it only because the painting needs it.”
Your turn
This exercise is about commitment, not perfection. Use a simple subject and keep both studies small enough to finish quickly.
Choose the largest light, middle, and dark shapes before mixing color.
Begin with a large mop, move to a smaller mop for the middle shapes, and wait until the end to pick up a synthetic round around size 8.
After the first wash dries, allow yourself only ten deliberate finishing strokes.
On the second study, simplify one step further. Compare freshness—not tiny accuracy.
Keep it alive