← Back to all guides

Beginner lesson · Painting process

Cazenovia Chickens: from first wash to final darks.

I began with one pale, connected wash, built broad middle-value families, and saved my strongest darks for the end.

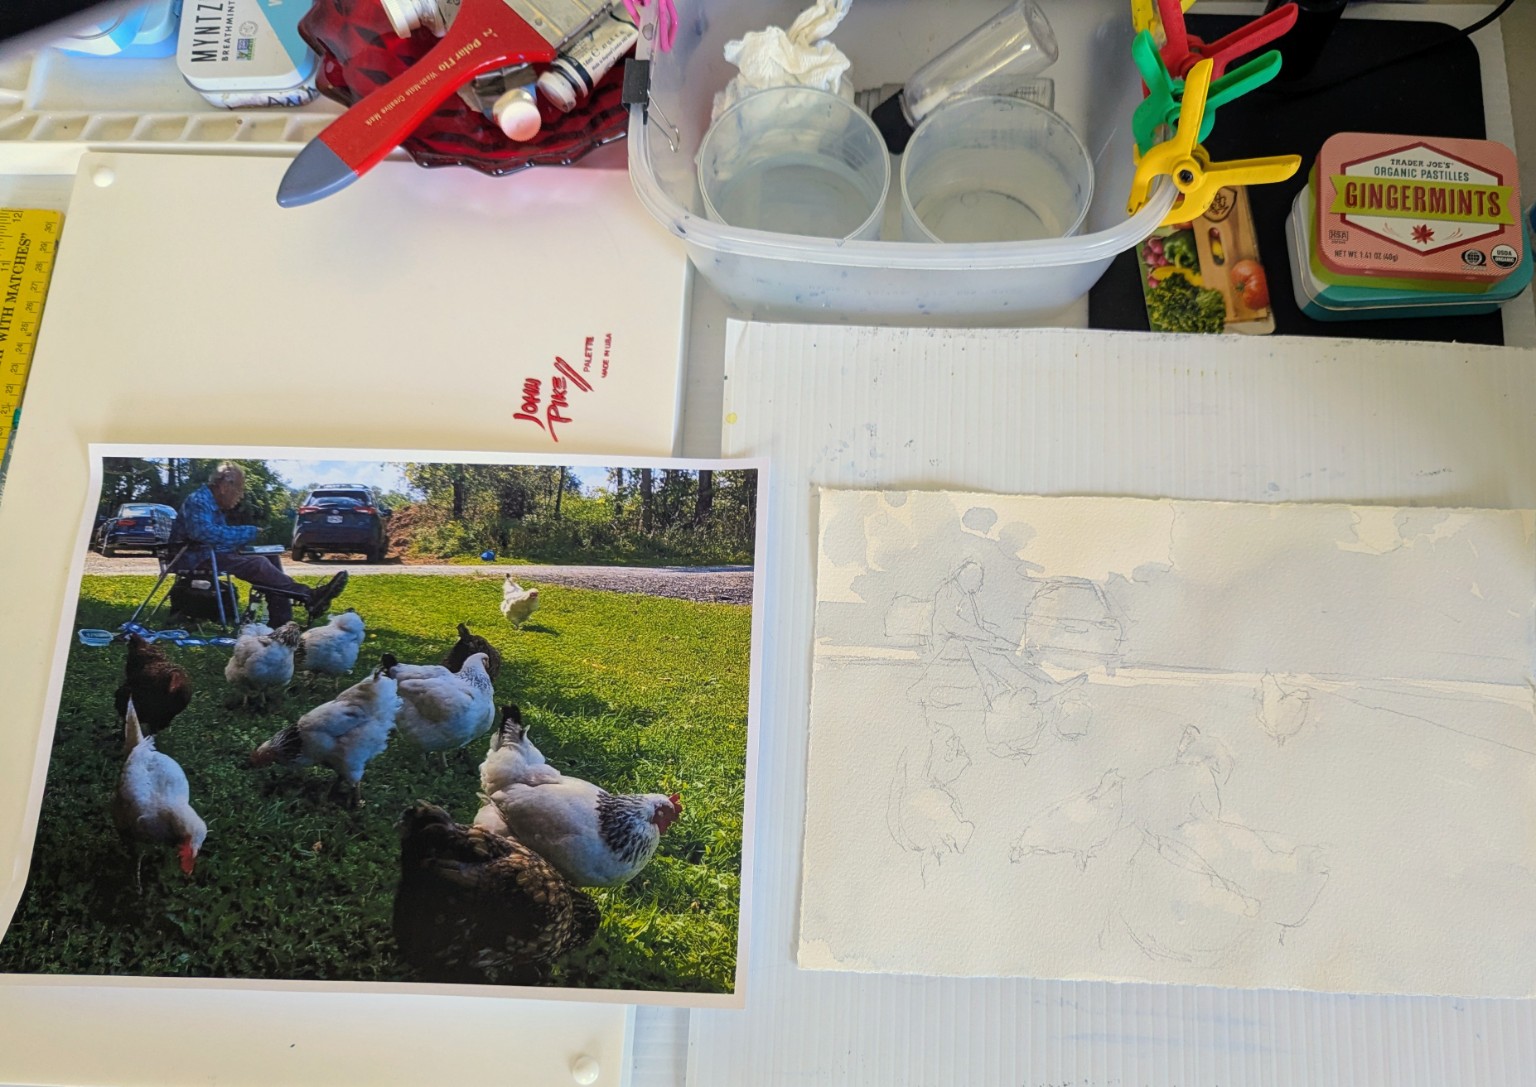
Painted from a reference photograph by artist Meg Harris, taken during a Cazenovia painting-group outing. Artist Eric Shute appears seated on a stool in the background.

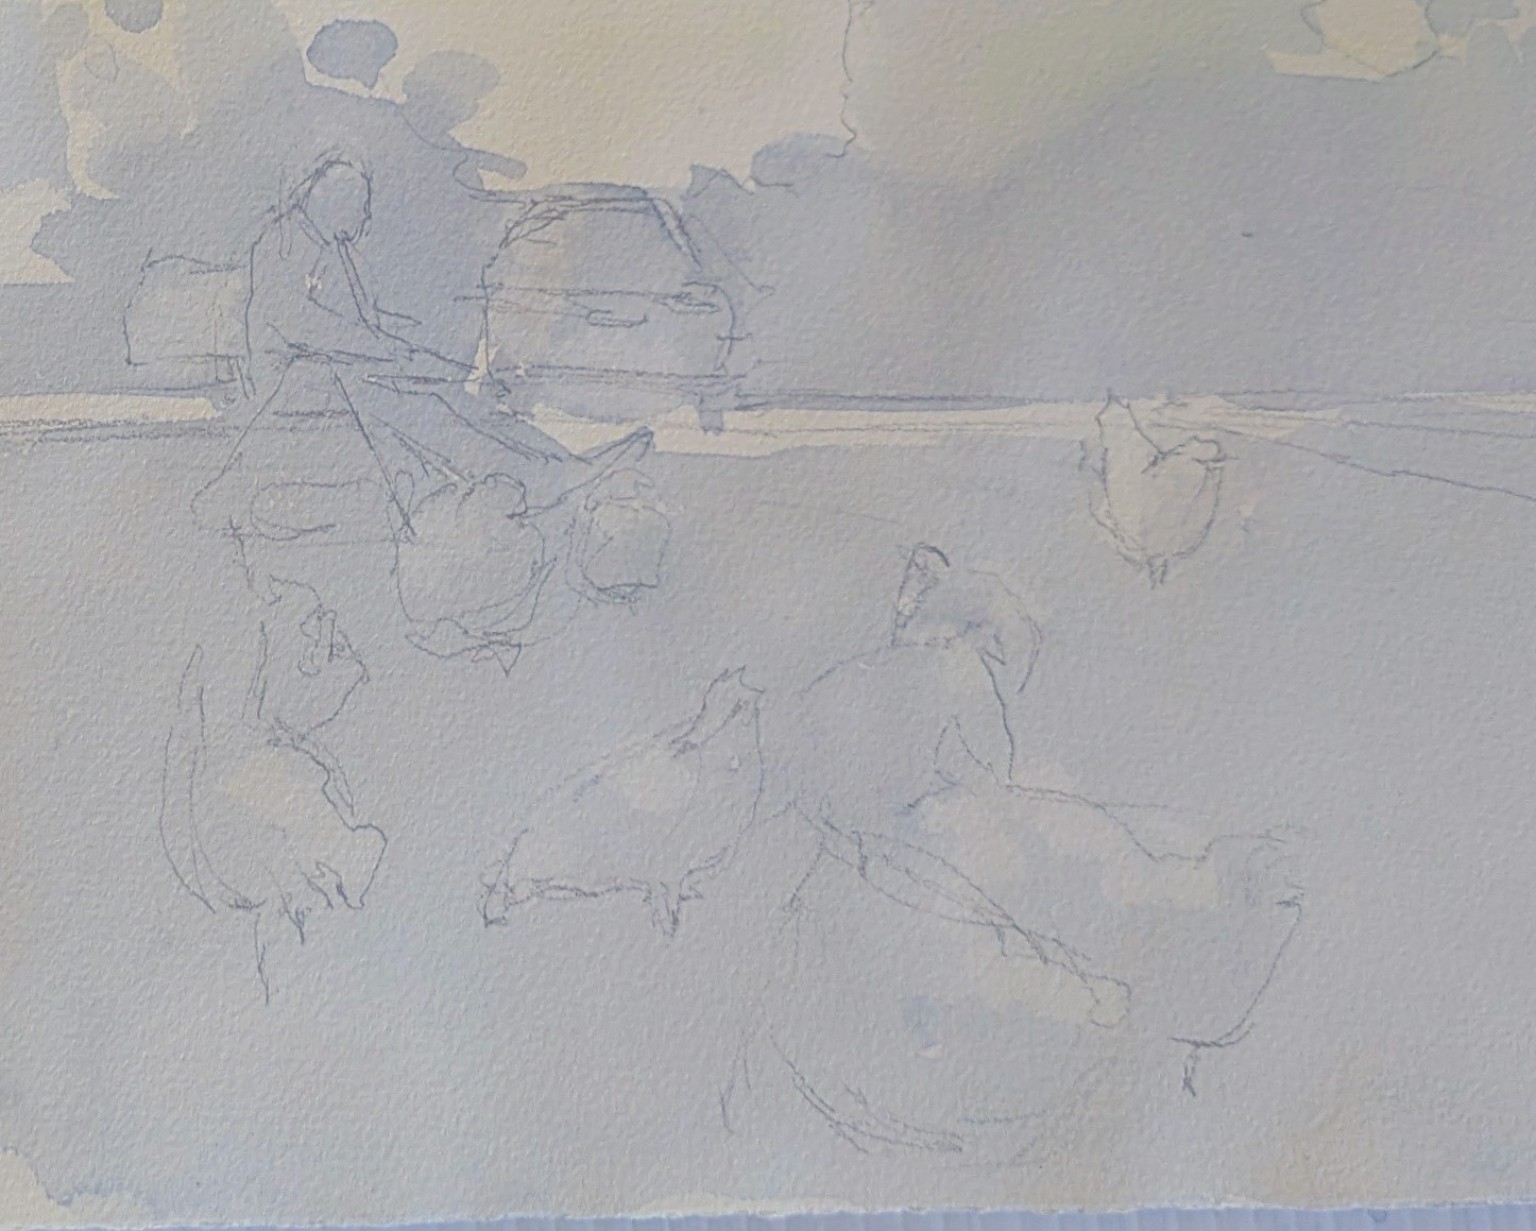
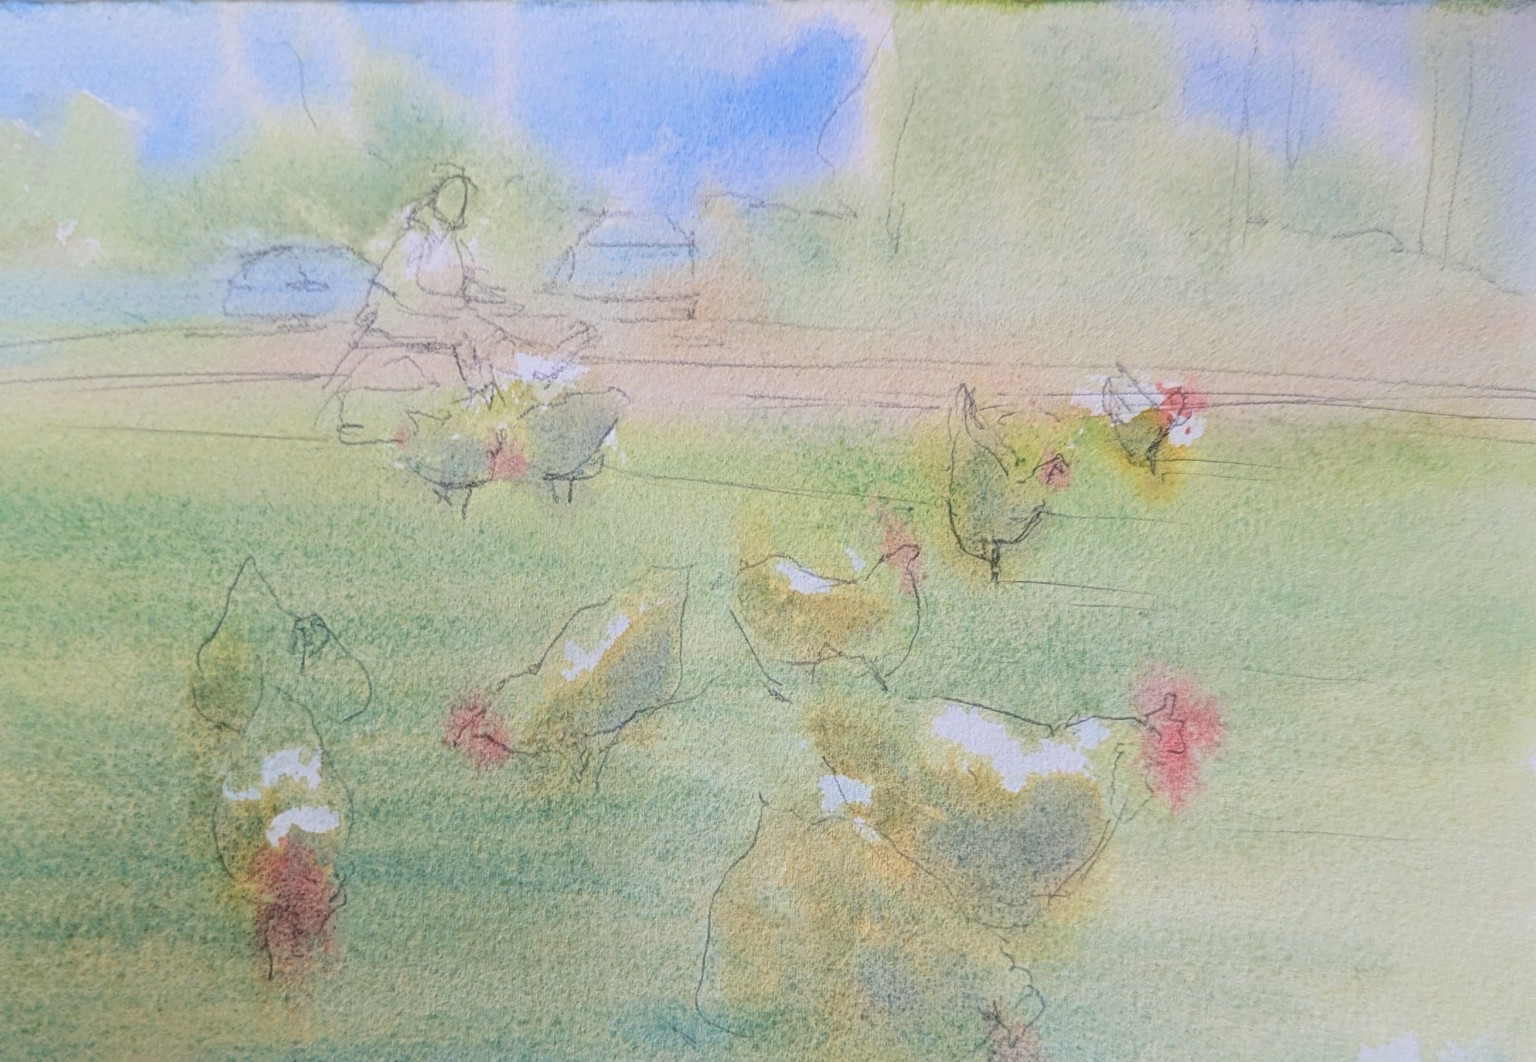
The first pale watercolor wash of the Cazenovia chicken scene, with the pencil drawing still visible
Stage 01 · My original watercolor in progress

Step 01

Lay in one connected first wash

I let pale blues, greens, and warm notes flow across the paper while keeping the drawing visible. At this stage I was establishing atmosphere and the largest connected color families—not finishing chickens one at a time.

What to watch for
  • A broad wash joining the sky, trees, and ground
  • White paper saved on the chickens
  • Eric, his stool, and the cars left lightly drawn
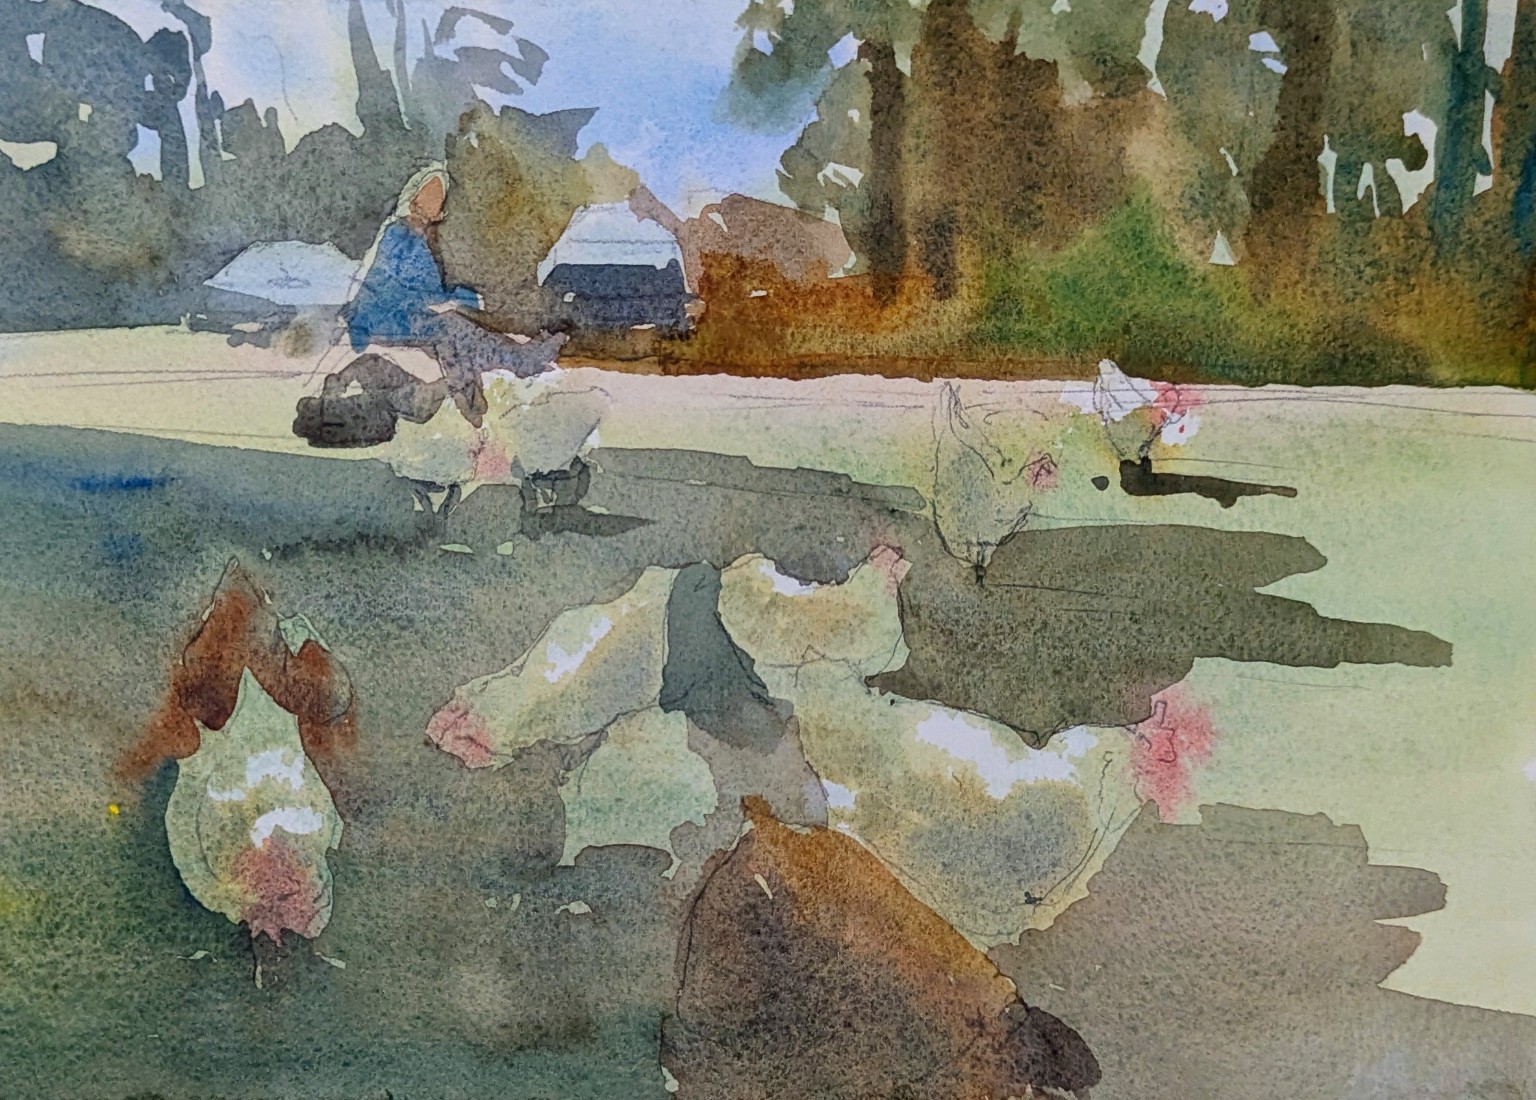
The middle stage of the Cazenovia chicken watercolor with stronger foliage, ground shapes, and cast shadows
Stage 02 · My original watercolor in progress

Step 02

Build the middle-value structure

I strengthened the tree mass, ground plane, chickens, and long cast shadows as broad value shapes. The scene begins to read because the middle values connect the separate subjects.

What to watch for
  • Foliage darkened into larger shapes
  • Ground and cast shadows joined together
  • Warm accents used sparingly in the combs and earth
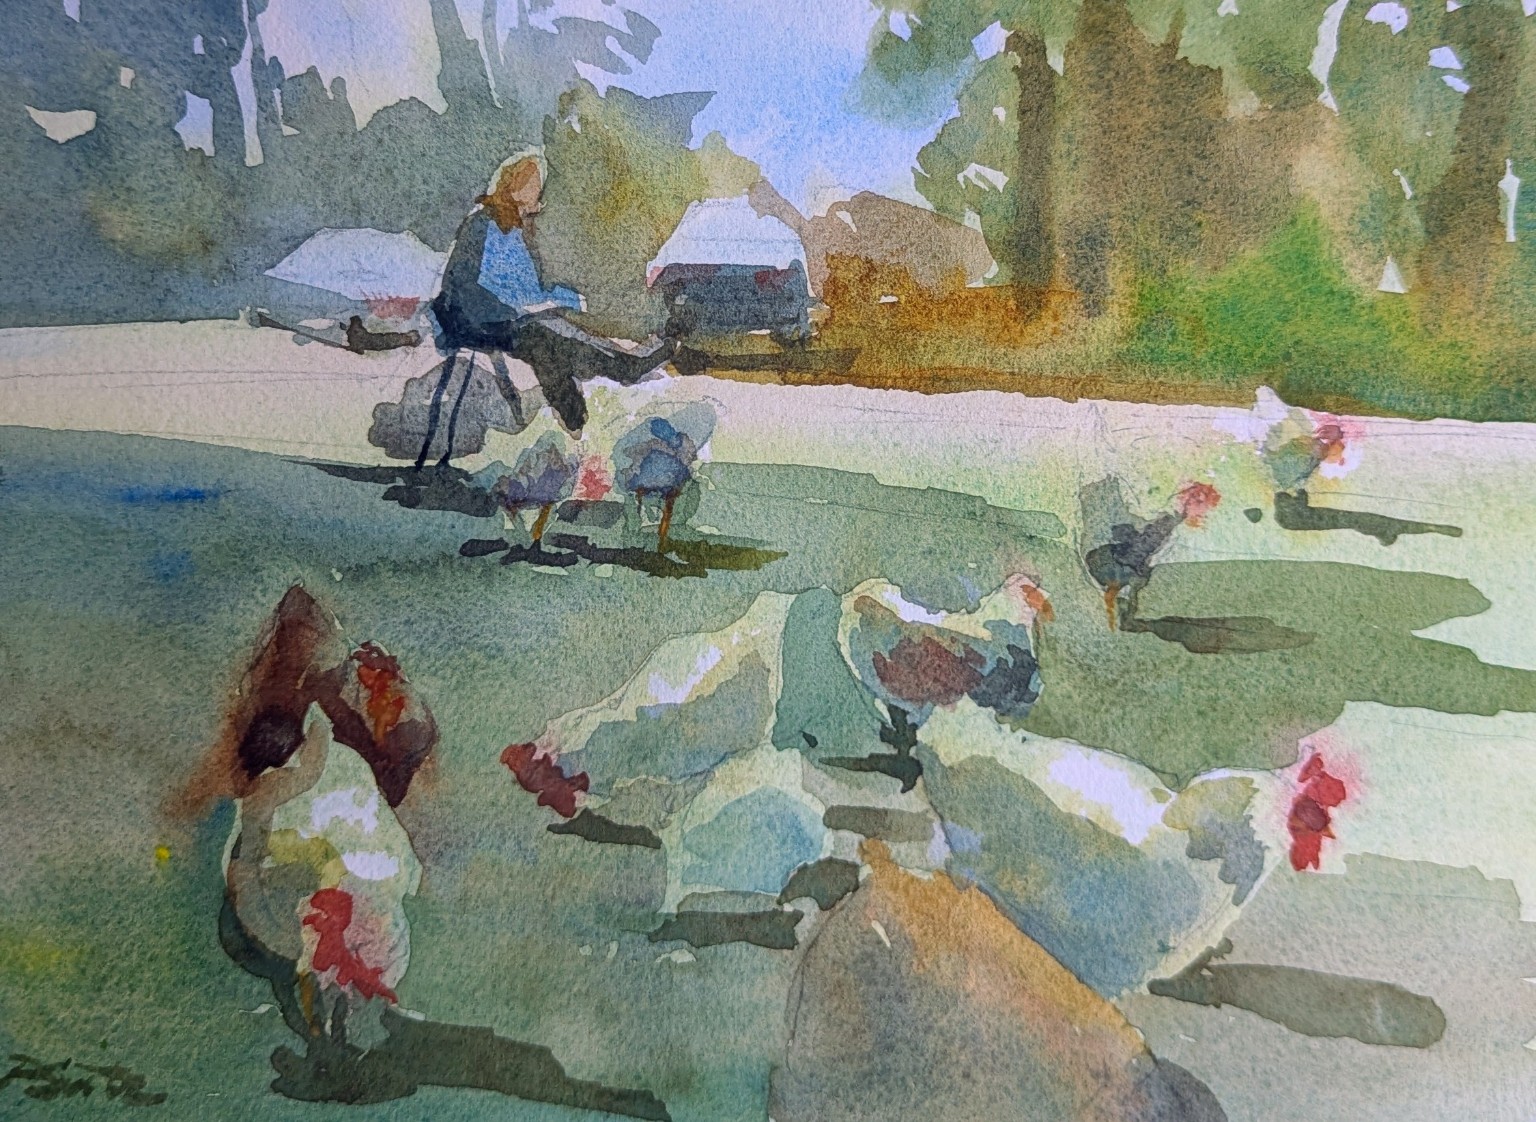
The finished Cazenovia Chickens watercolor with connected darks, preserved whites, and red comb accents
Stage 03 · My original watercolor in progress

Step 03

Connect the final darks—and stop

I placed the deepest accents beneath the chickens, around Eric and his stool, and within the tree line. A few red combs and selected edges bring the scene to life without describing everything.

What to watch for
  • Strong dark accents anchoring the chickens
  • The seated figure clarified with shape and value
  • White paper preserved and details kept near the focal area

The big idea

Each stage has one job.

My reminder

“The first wash creates unity. The middle values build the painting. The final darks should clarify—not decorate.”

I keep the painting simple so it reads clearly from a distance.

Keep it simple

What I deliberately left out.

01Individual feathers on every chicken

02Every leaf and branch in the background

03Facial detail on Eric

04Unnecessary details on the cars

Your turn

Try the same three-stage plan.

Choose a busy scene and give yourself permission to stop before every object is explained.

  1. 01
    Merge the first wash

    Join the largest areas with pale color and preserve only the whites you truly need.

  2. 02
    Connect the middle values

    Think in broad families instead of painting each object separately.

  3. 03
    Place the final darks—and walk away

    Add only the accents that clarify the focal area and make the scene read.

Keep it simple

One wash to unite it.
A few darks to make it read.

Return to the guide library